Looking for a Distributor?

Union Ink™ is dedicated to providing a broad range of innovative and inspired screen printing inks with high opacity mixing systems.

Union Ink has been focused on developing newer and better screen printing inks since 1931. For more than 90 years, Union Ink has continued to develop new products to meet the exacting demands of the screen printers. Union Ink is a leading brand in the screen print industry with the development of highly opaque, unique plastisol inks for manual and automatic printers alike.
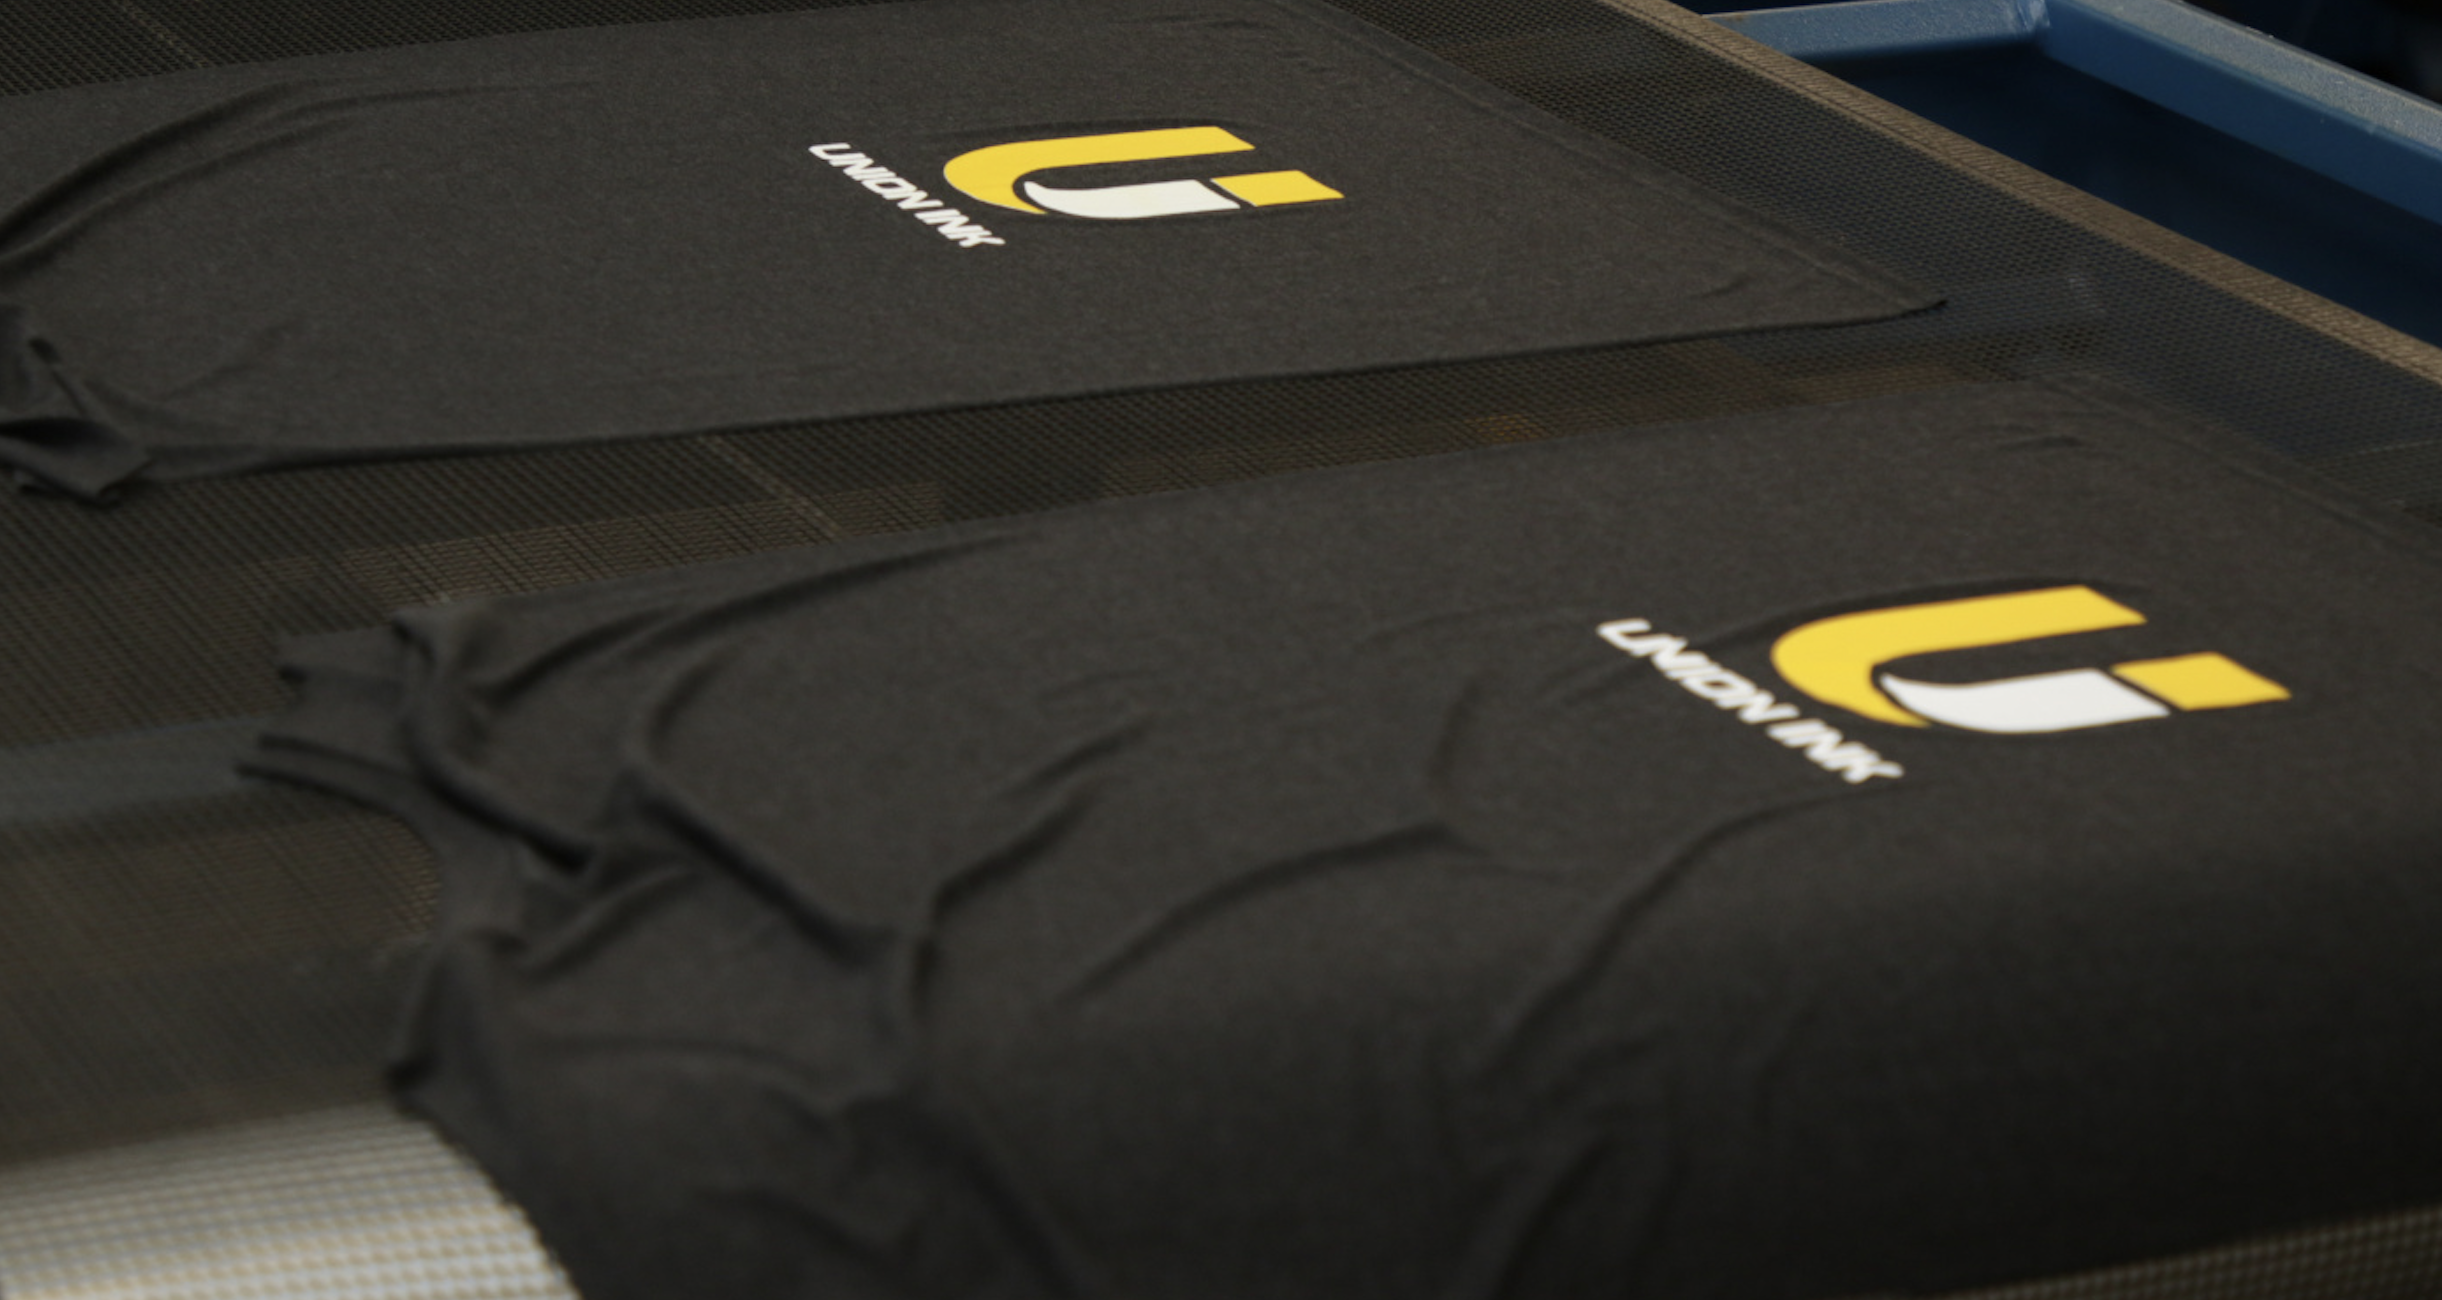
Union Ink formulates unique and reliable plastisol inks with printers and consumers in mind, providing an exceptional look and feel
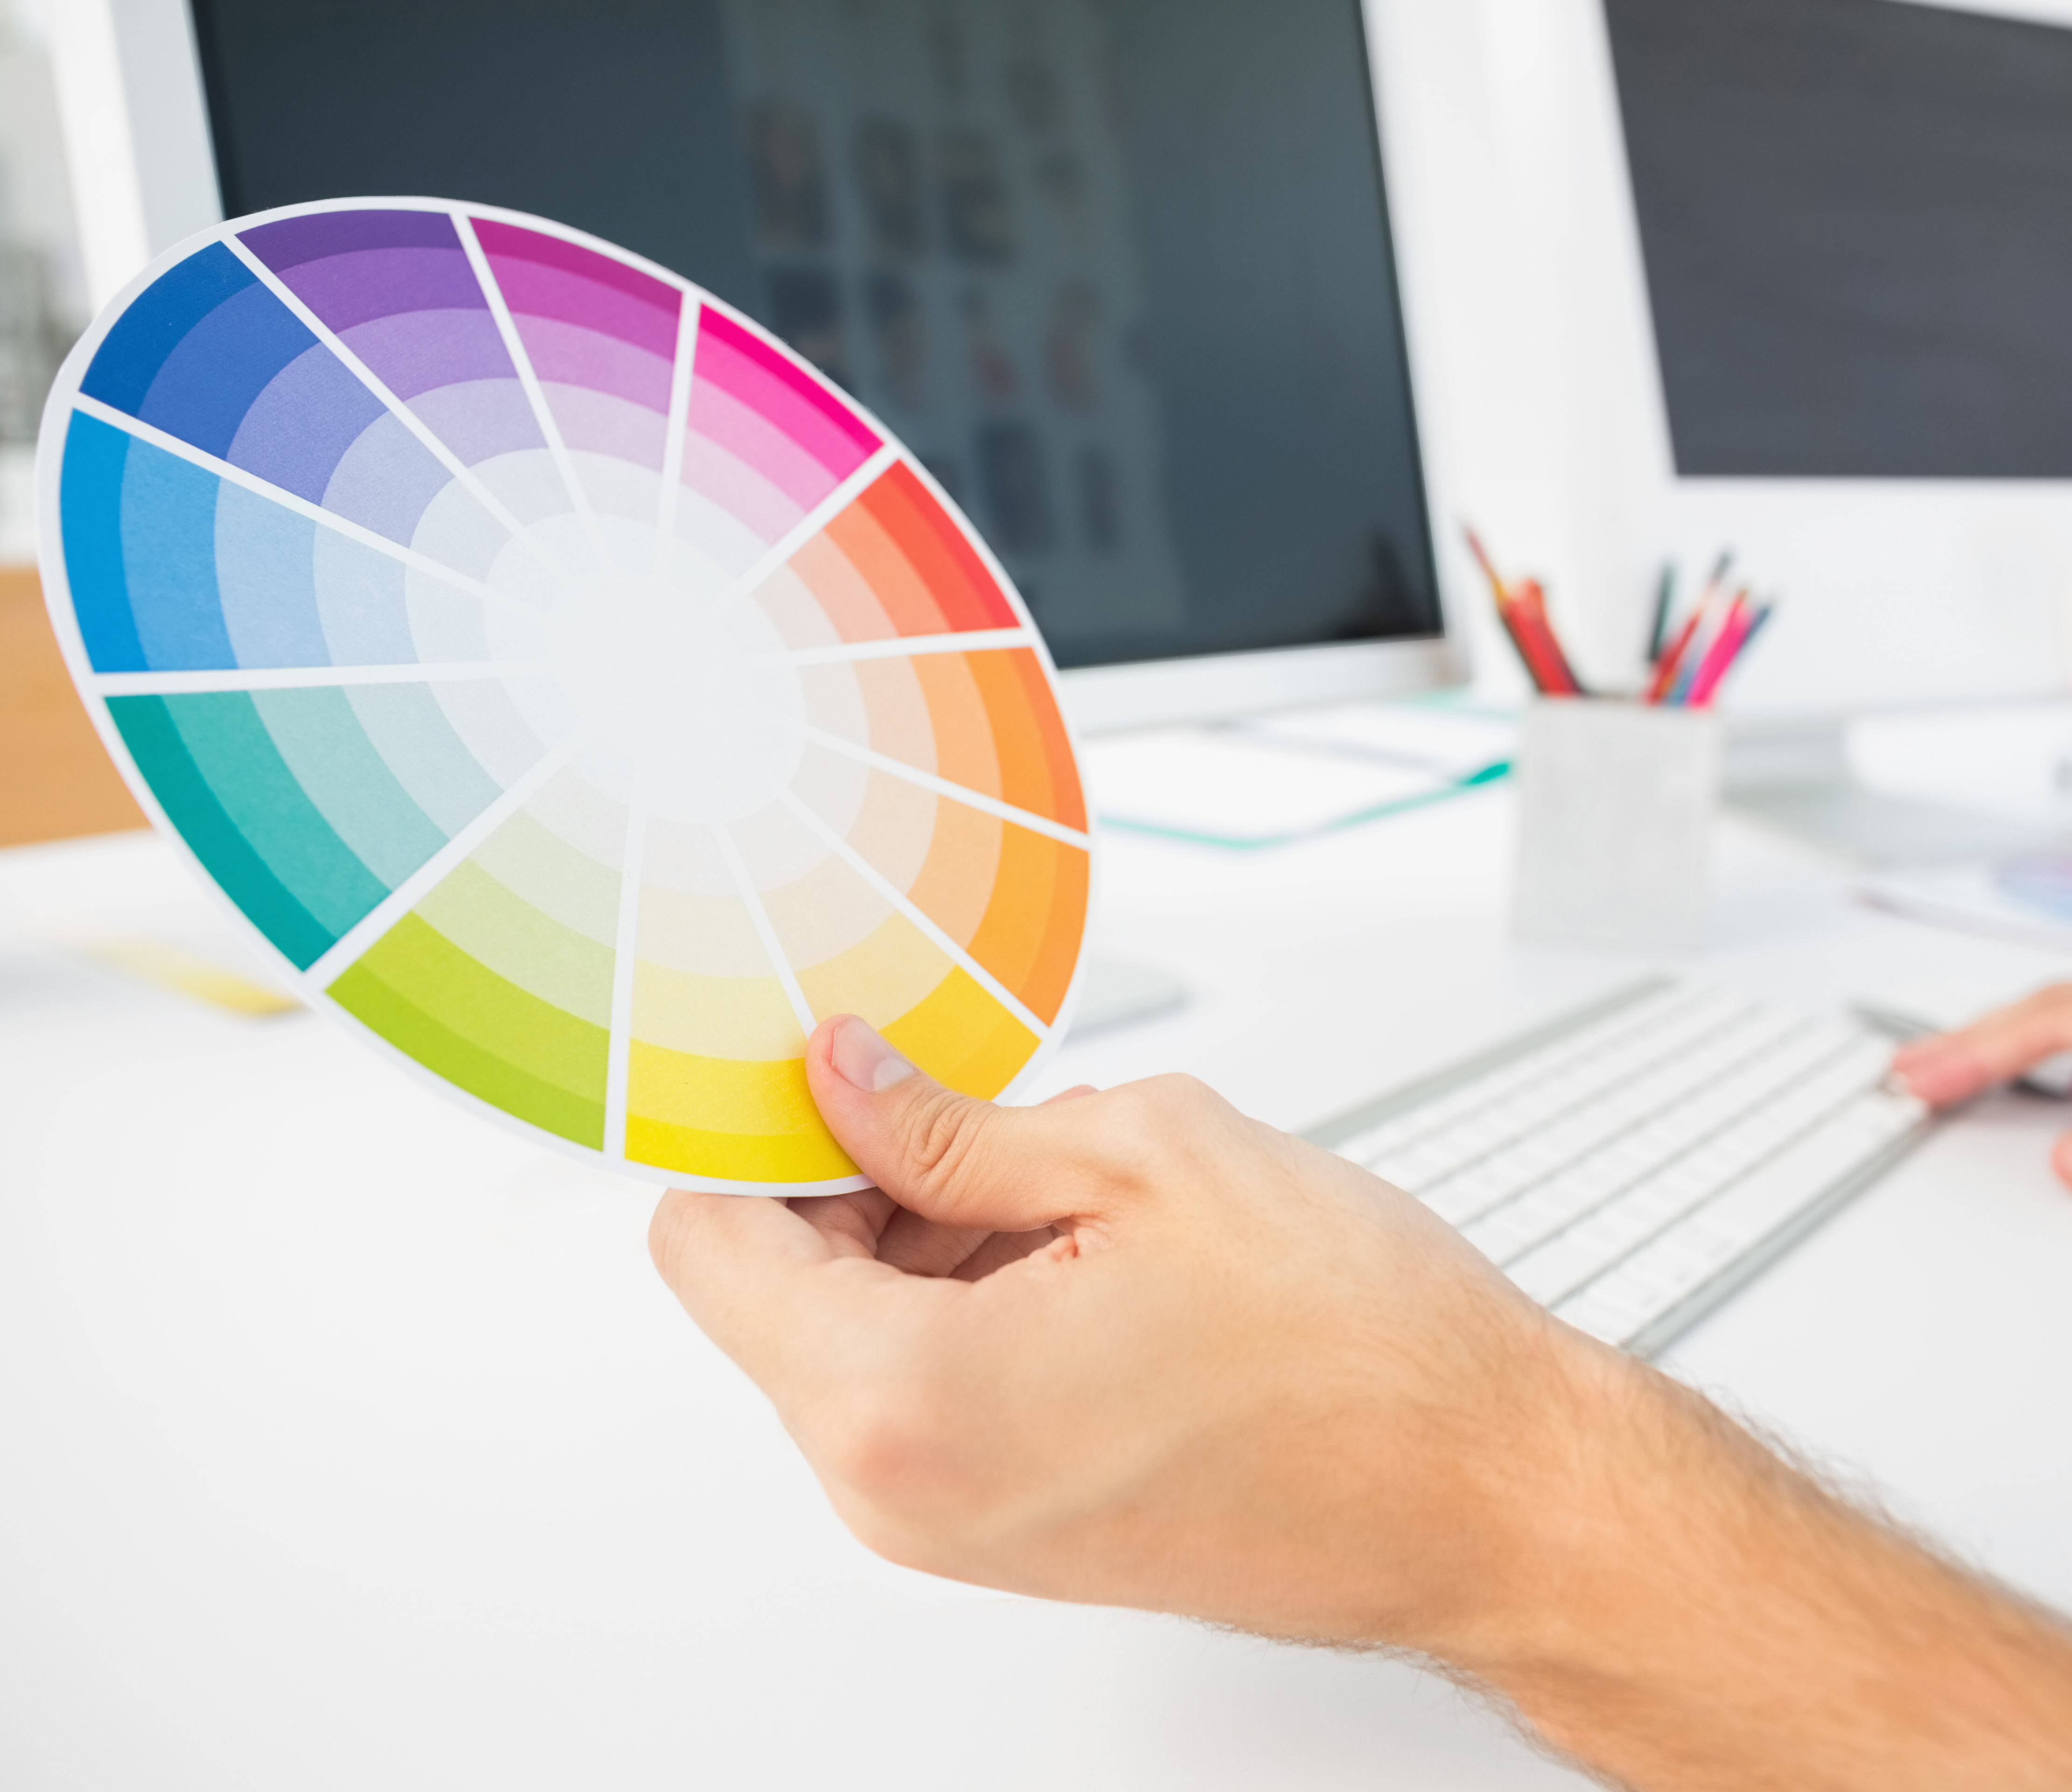
Plastisol inks comprised of white, plasticharge, effects, bases, additives, stock colors and color mixing systems
Integrates with our IMS 3.0 cloud-based solution for managing color and inventory in the textile screen printing market

Looking for more screen printing tips and tricks? Follow the Avient Specialty Inks team on Youtube here.

The Union Low Cure Ink Sports series with low cure capability are ideal for heat-sensitive athletic garments
With the distinctive opacity that tells Union Ink apart, ready for use plastisol inks offer a solution for all substrate needs